

onion jam on a cracker with old cheddar
This jam is totally my jam. 😉 It’s a fantastic condiment with a never-ending list of uses. I love it on a piece of cheese on a cracker. On a grilled cheese? D-lish. This recipe requires a few exclusive ingredients, but aside from that, it is very straight forward and easy. I’m a big fan of kicking up the flavour of dishes with the use of great quality condiments. Makes a great hostess gift with a chunk of cheese and some artisinal crackers.
Red Onion Jam
adapted from a recipe by Rachel Allen
Makes about 3 cups
Ingredients:
1/3 cup of unsalted butter
6 cups of diced onions (I used red but use whatever you like)
1.5 tsp salt
1.5 tsp freshly ground pepper
3/4 cup (real) maple syrup (or granulated sugar)
1/2 cup sherry vinegar (or balsamic)
1 cup red wine (leftover from the night before is fine, or even if it’s been sitting around a few days)
3 tbsp creme de cassis (a blackberry flavoured liquer)
Directions:
In a large heavy-bottomed saucepan over medium heat, melt butter. Add onions, salt, pepper and maple syrup (or sugar). Stir. Cover and let cook on medium-low heat, stirring every few minutes to avoid it sticking (add more butter if it starts to stick). Cook for approximately 30 – 45 minutes until onions are quite soft and cooked down.
Add the red wine, sherry vinegar and creme de cassis. Bring to a boil, then reduce to a simmer and continue to cook, uncovered, until it thickens and becomes ‘jammy’. (anywhere from 30- 60 minutes. If using maple syrup, it will take longer as there is more liquid). Pour into sterilized jars. Refrigerate when cool. Will keep for months, in sterilized jars – refrigerated. Caution: addictive.

dice up onions
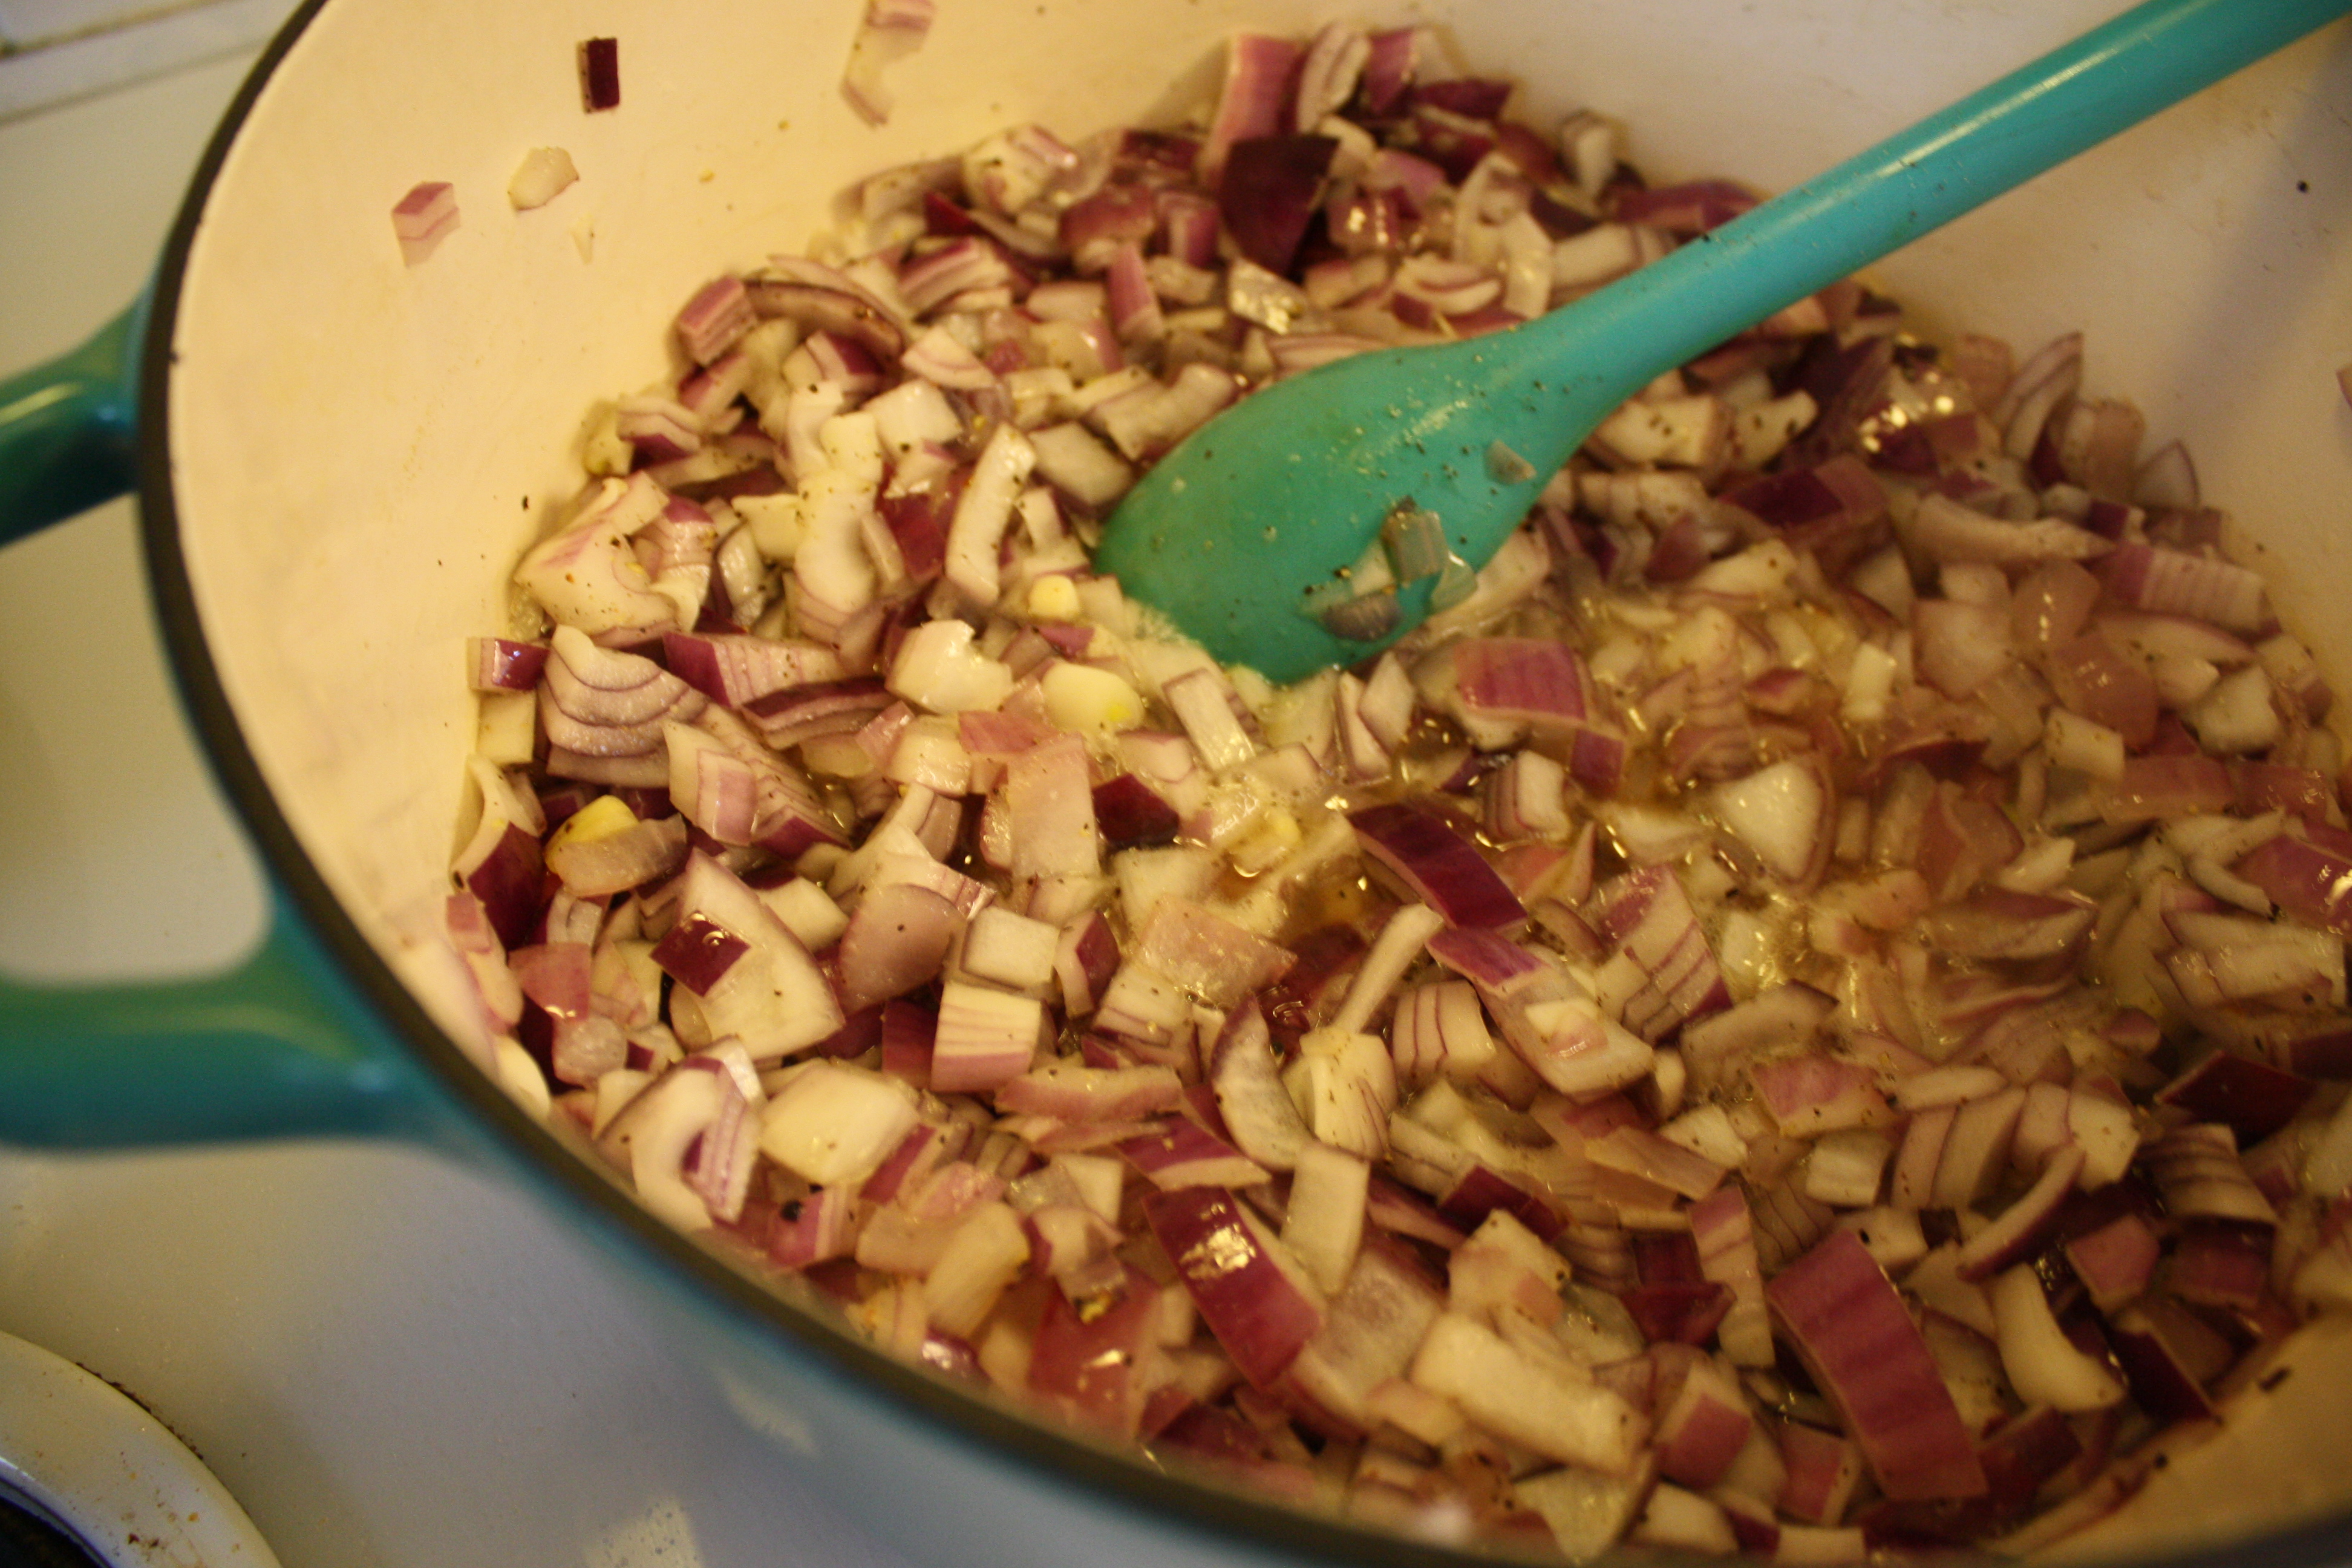
add to saucepan and cook down slowly
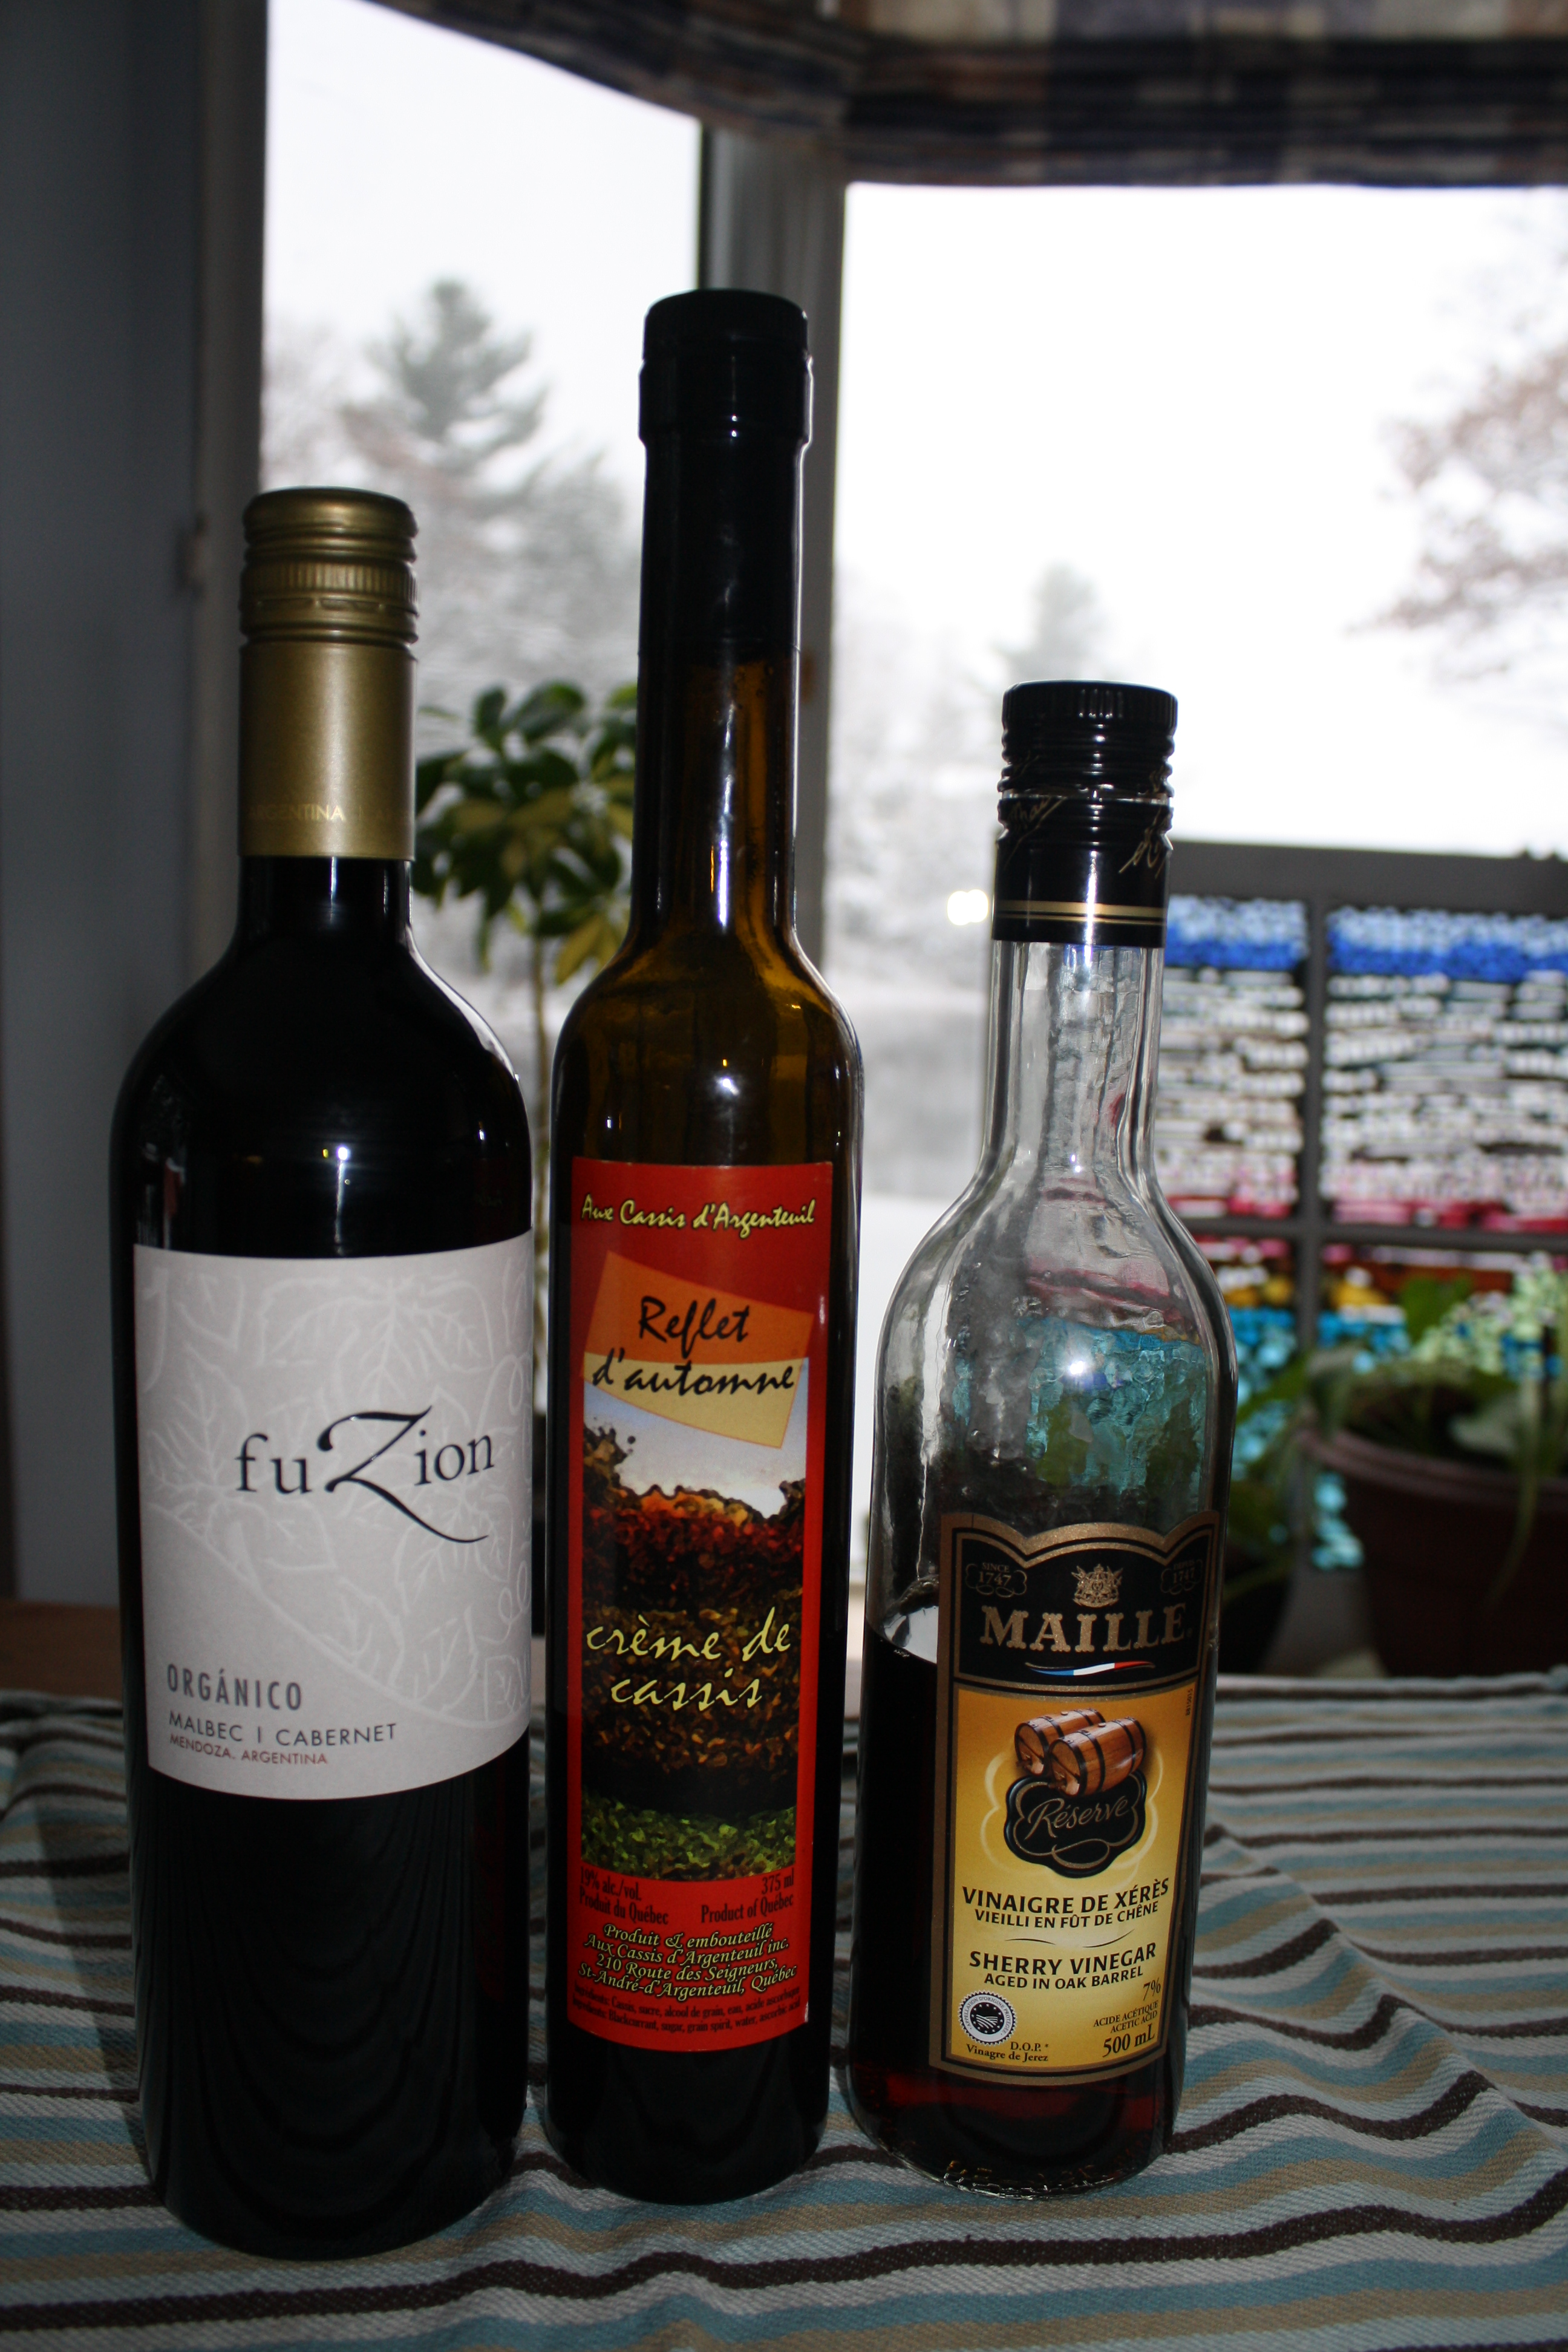
red wine, creme de cassis and sherry vinegar
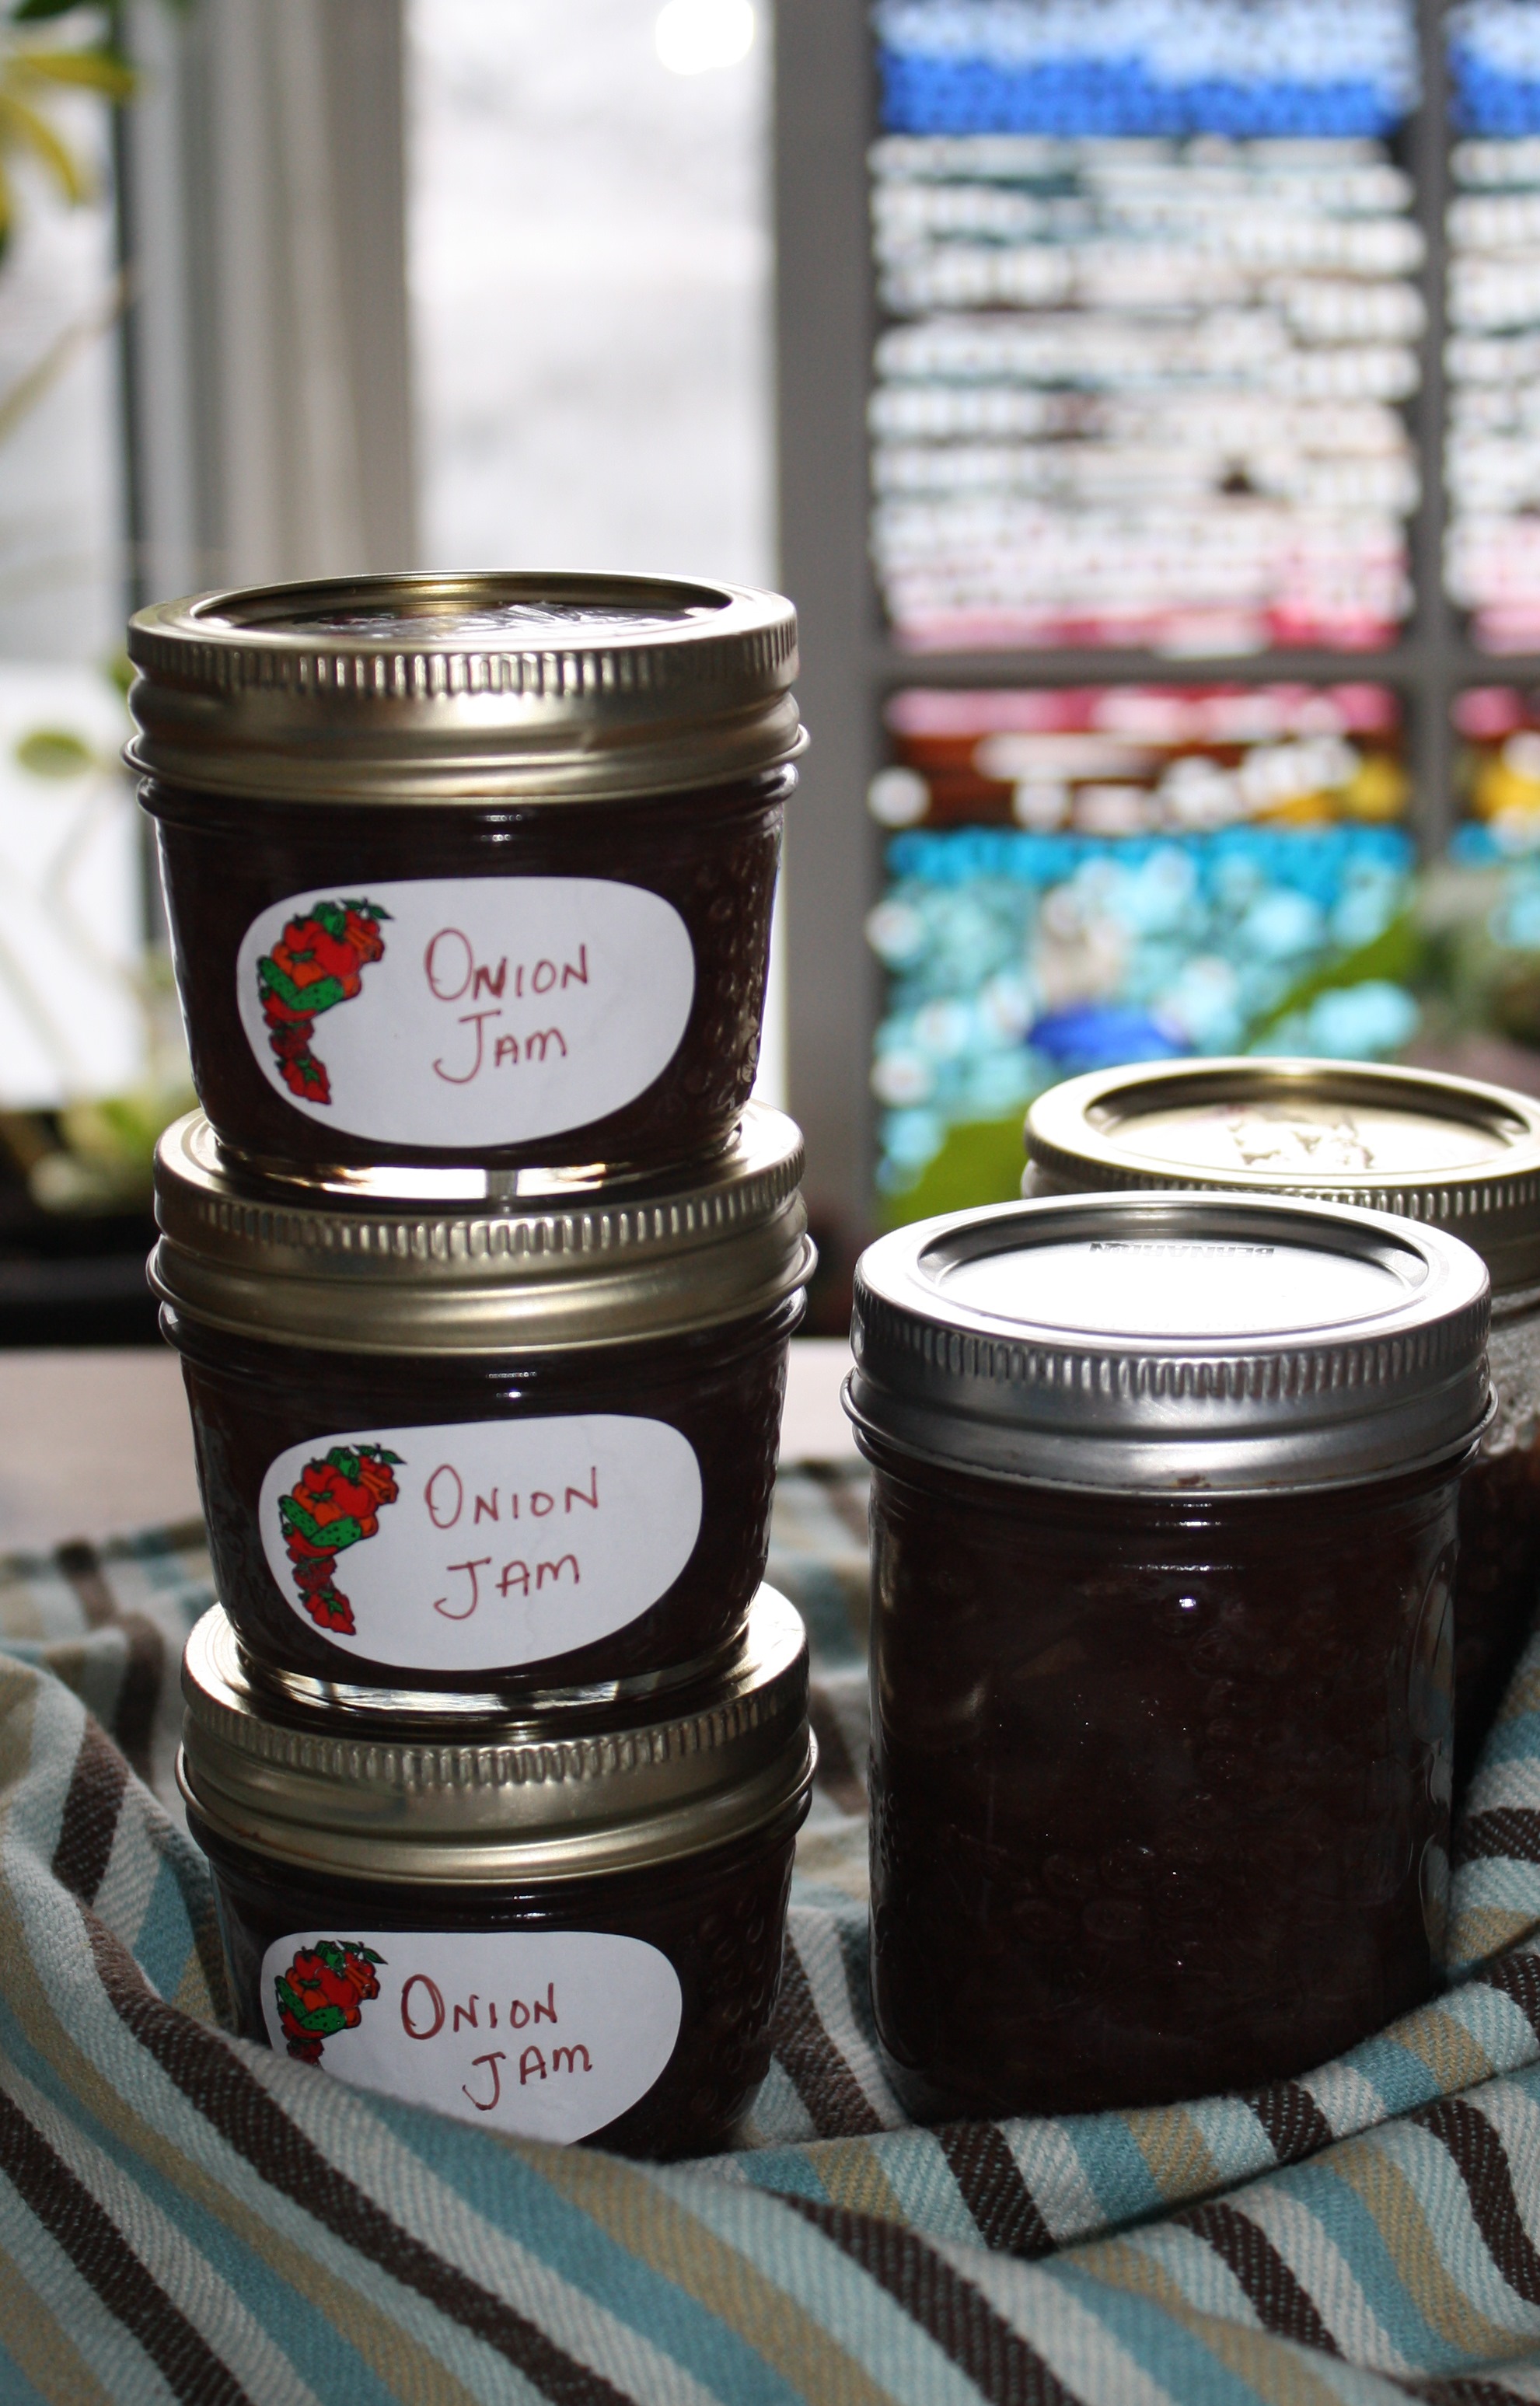
makes about 3 cups. Pour into sterilized jars.

YUM

close up YUM


