Chard Wrapped Fish Filets

Here’s an easy and healthy way to cook fish filets. In this recipe I’ve used haddock and depending on the thickness of your fish filet, you may need to increase your cooking time. You can also use kale leaves, or parchement paper packets. The swiss chard is pairs really well with fish, it’s just delicious with it.

Chard Wrapped Fish Filets

adapted from a recipe by Jessica Seinfeld

Serves 2 (can be doubled, etc)

Ingredients:

2 5 ounce fish filets

2 large swish chard leaves, stems removed (and diced finely for use in this recipe)

1/4 cup onion, finely diced

1/4 cup swiss chard stems, finely diced

1/2 cup fennel bulb, thinly sliced

1/4 cup celery stalks, finely diced (preferably with leaves attached)

2 tbsp olive oil (or oil of your choice)

4 tsp basil pesto

juice of 1/2 lemon

salt and freshly ground pepper

some olive oil to drizzle

Directions:

Preheat oven to 400F. Line a baking sheet with parchment paper.

Wash and trim swiss chard leaves. Remove stems and finely dice. Place leaves on baking sheet.

Place fish filets on top of chard leaves, on one side, so there is enough of the leaf to fold over.

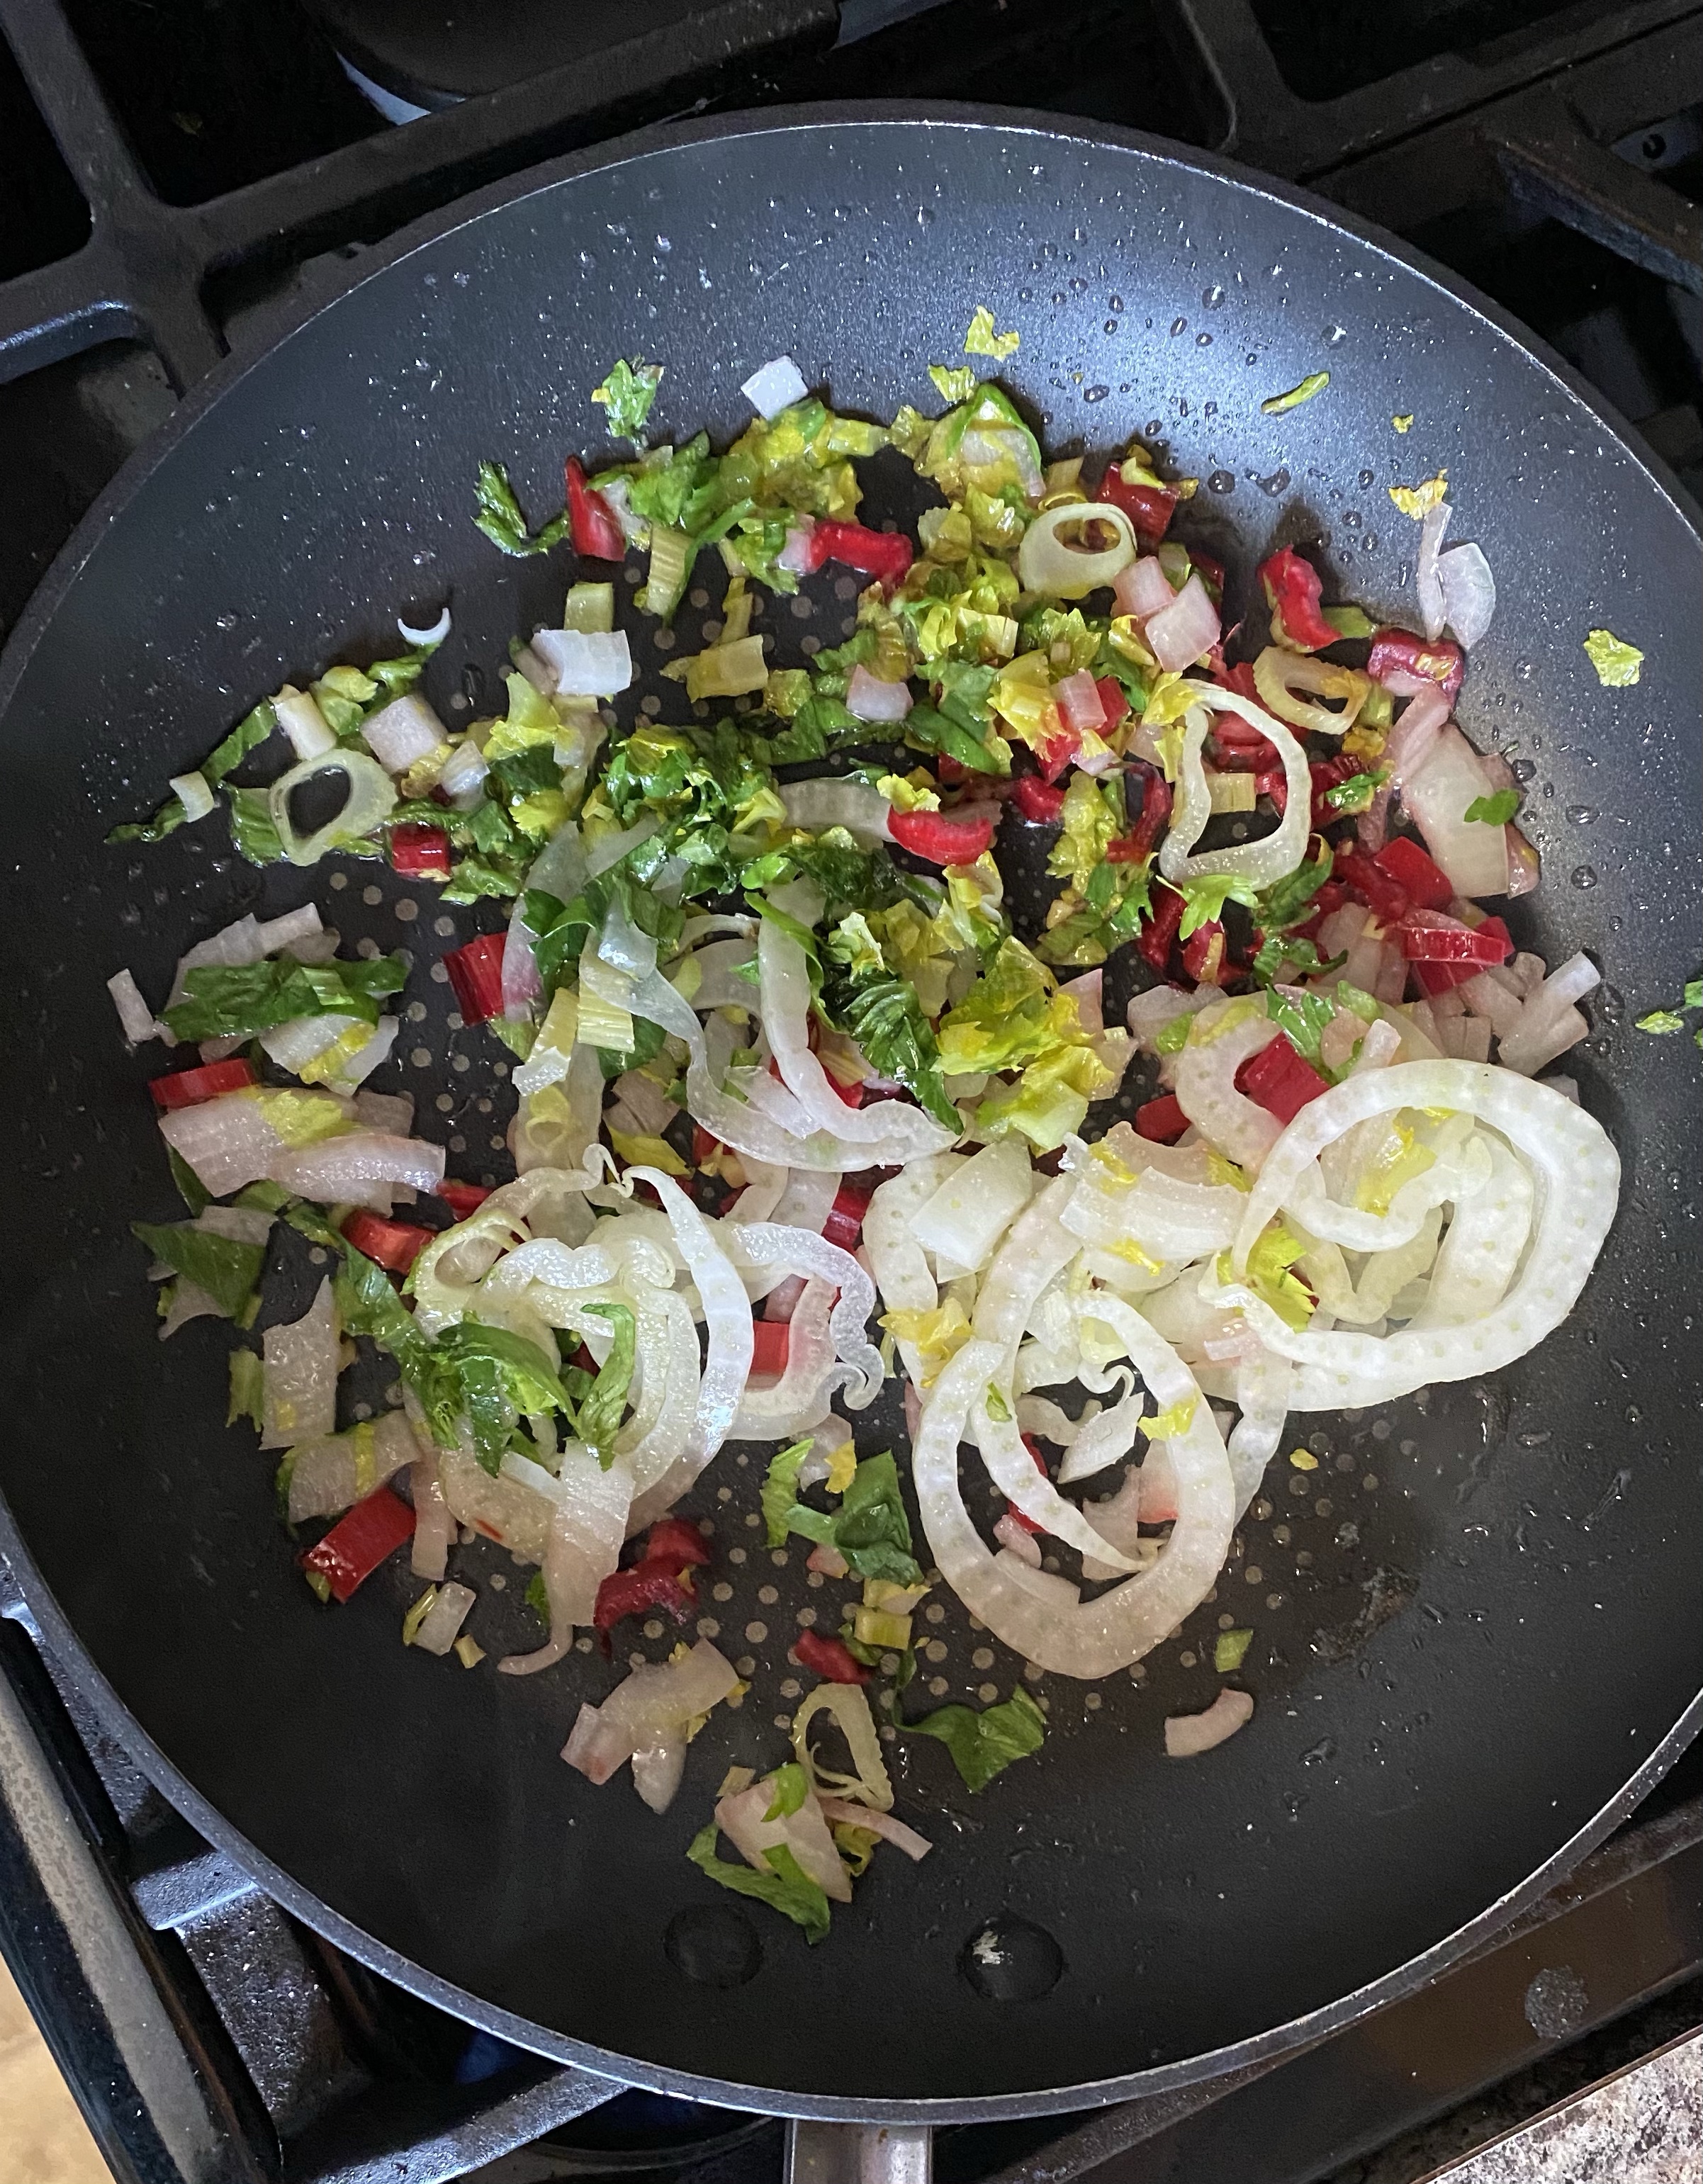
Heat olive oil in medium-sized pan over medium heat. Add onions, diced chard stems, celery and fennel to pan. Add salt and pepper. Saute gently until softened – 5 minutes or so. Remove from heat.

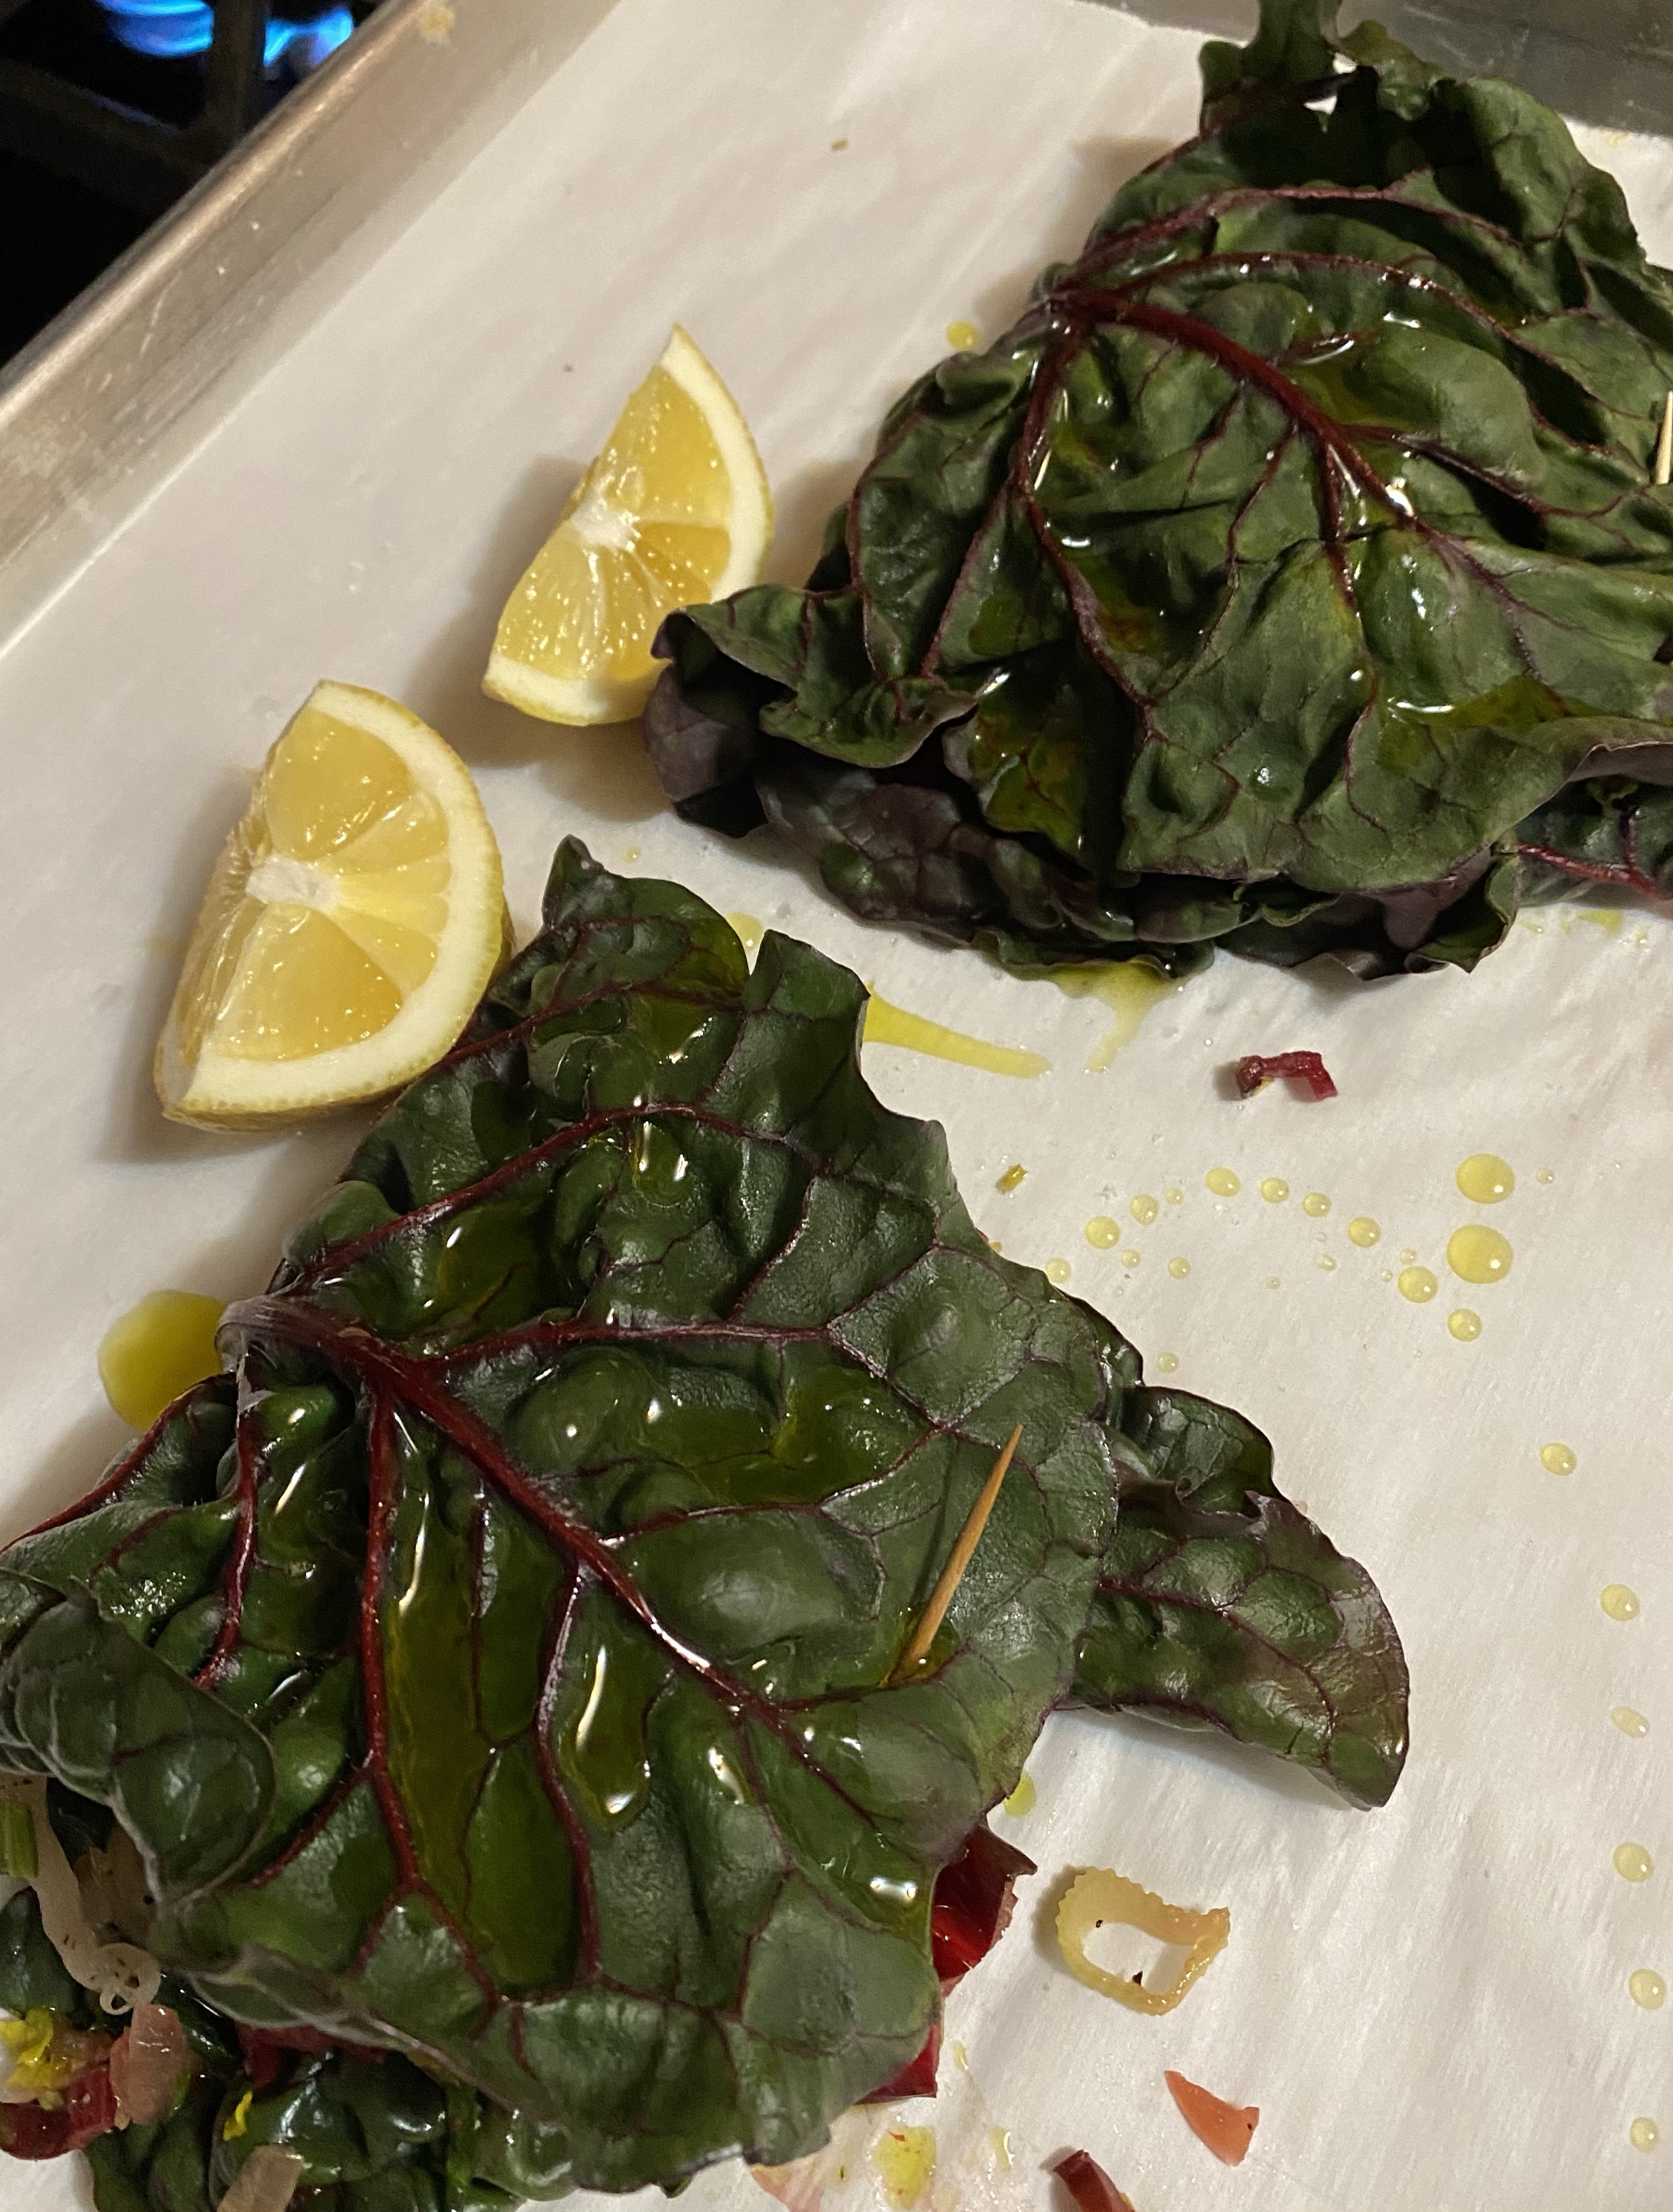
Spread 2 tsp of basil pesto on top of each fish filet. Divide vegetable mixture and spoon on top of filets. Drizzle a little olive oil and lemon juice over the fish. Fold over leaf and adhere with a toothpick. (Can be prepared to this point and refrigerated to bake later).

Place into preheated oven and bake for 20 minutes, or until fish is cooked through.

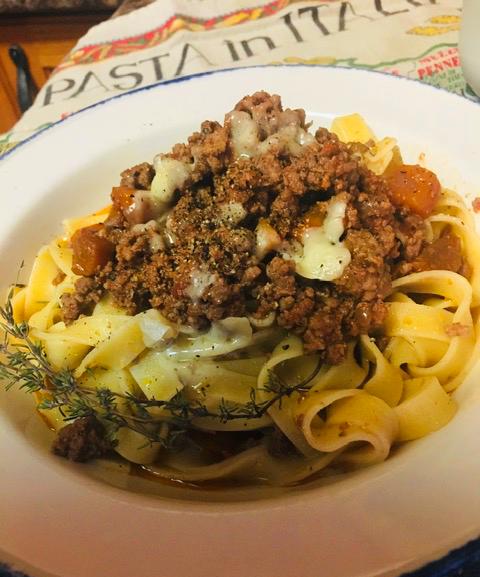
Served with some simple boiled new potatoes. 🙂

Sauté vegetables until tender-crisp

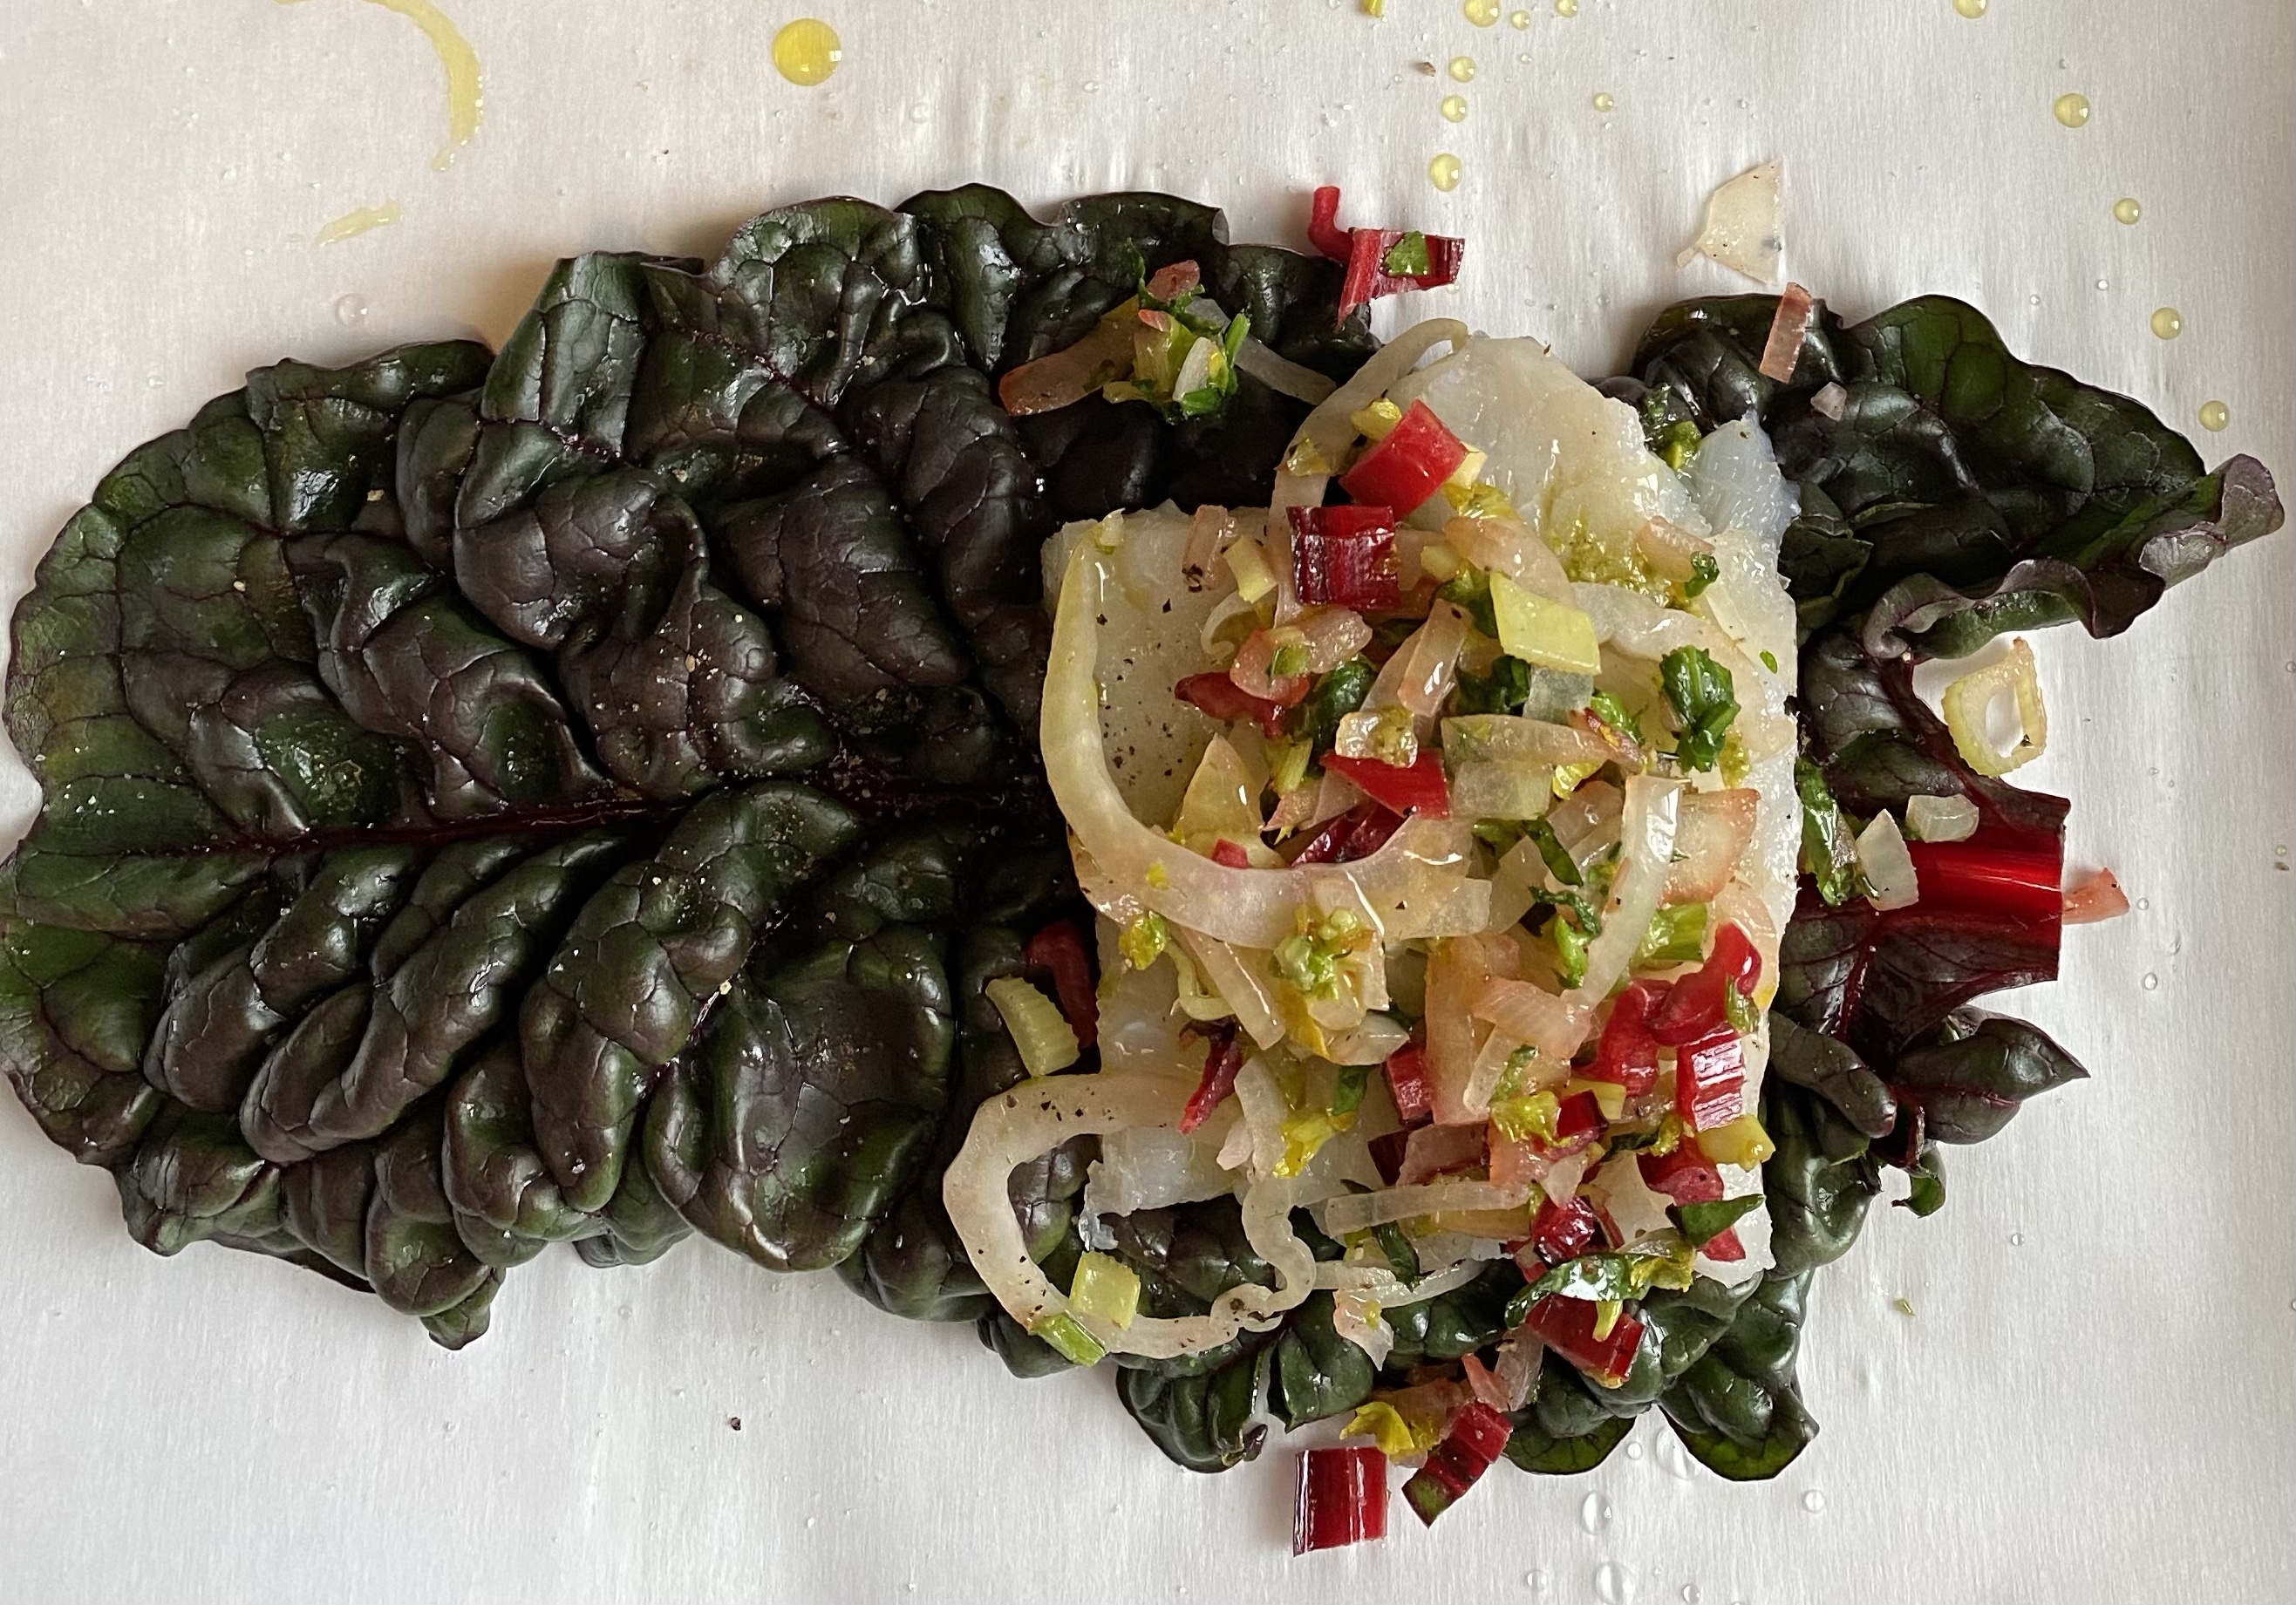
Spread pesto on top of filet, followed by sautéed vegetables

Fold over chard leaf, secure with toothpick
Voila!

I am including some preparation alternatives as well:

Alternatives:

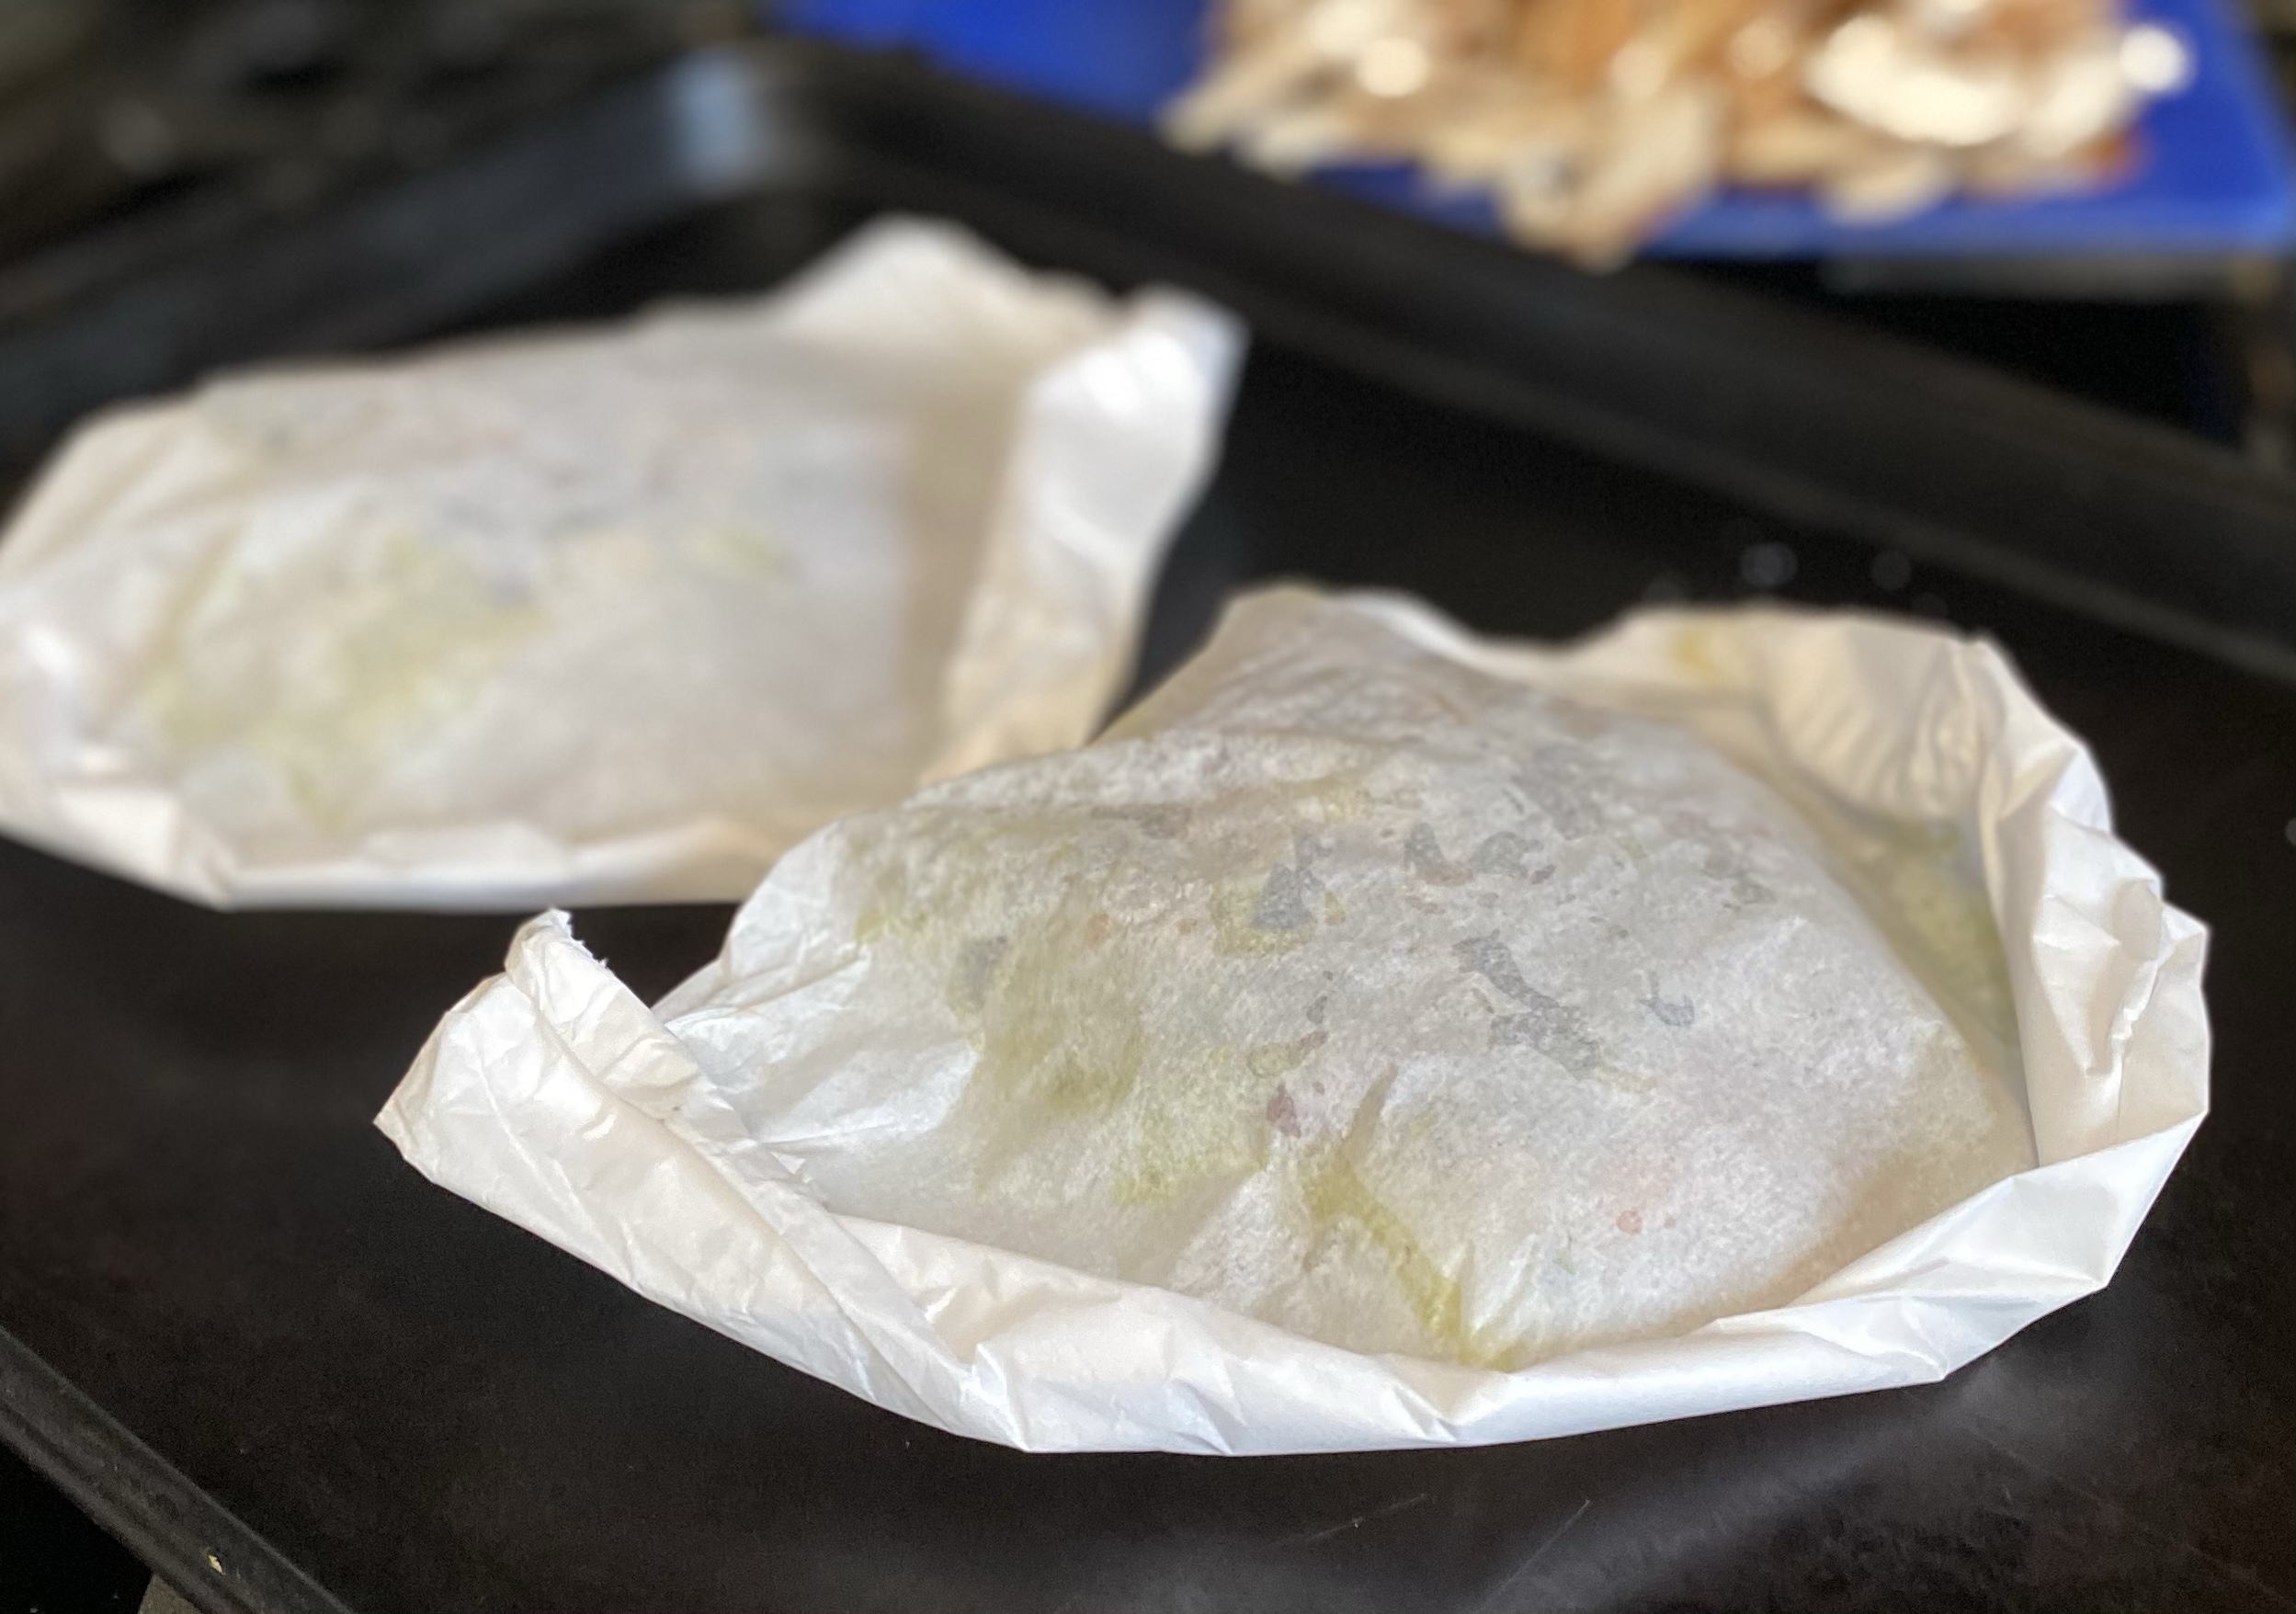
To cook fish in a parchement paper packet, follow the instructions, but place fish on a square of parchment instead of chard leaf. Wrap/fold edges to create a packet. (I used some chopped chard or kale leaf with this alternative, as I love the flavours together).

This is a halibut filet with the same ingredients but more chard leaf chopped up in the vegetable mixture
Parchment packets- you can google how to wrap these properly

Energy Snack Loaf (sugar free)(gf)

I love this loaf for many reasons. It’s refined sugar free, getting it’s sweetness from bananas and dried fruit. It’s an excellent snack between meals when you need something to get you through. I always bring this with me when I travel (sliced and individually wrapped), it’s proven to be a lifesaver during long waits between meals, great to take on a hike. It tastes amazing and it’s healthy. Once you have all the ingredients, it comes together quickly –it’s such a cinch.

*sub in your favourite dried fruits and nuts to make it your own

Energy Snack Loaf

adapted from a recipe by https://theviewfromgreatisland.com/

Ingredients:

Dry – mix together:

1.5 cups almond flour

1/2 cup all-purpose gluten-free flour (or regular)

2 tbsp hemp hearts

1 tsp baking powder

1/2 tsp salt

Wet – in processor (can mix by hand):

2 bananas – liquified (or mashed well with potato masher)

2 large eggs

1/4 cup of olive oil (or oil of your choice)

1/2 tsp almond extract

1/2 tsp vanilla extract

Add ins – once everything is combined:

1 generous cup raisins or craisins (or dried fruit of choice)

1 generous cup pecans, roughly chopped (or nut of choice)

Directions:

Preheat oven to 350F. Line a 9 x 5 inch loaf pan with parchment paper. Set aside.

In large bowl, mix together the first 5 dry ingredients– almond flour, Gf flour, hemp hearts, baking powder and salt. Set aside.

In a food processor (or by hand) liquify the bananas, then add in the eggs and mix well. Add almond and vanilla extracts and olive oil and mix well.

Add the liquid ingredients to the dry ingredients and mix well. Fold in the raisins and nuts, until well combined.

Scrape into prepared pan, smoothing top. Bake for 40-45 minutes until tester comes out clean and top is golden brown.

Remove from pan and cool. Wrap in fresh parchment and chill in fridge. It’s easier to slice when it’s cold. Enjoy.

I store mine in the fridge but it’s not necessary to do so.

Add wet mixture into the dry mixture
Fold in fruit and nuts and mix thoroughly
Bake till golden brown and tester comes out clean

Insta-Pot Chicken Curry

curry1

If you want to explore the use of your Insta-Pot, I’ve found that the Insta-Pot method of cooking makes a really delicious curry.  It lacks the heaviness of a slow-cooked curry, and so I’ve decided to document my recipe and share the goodness.  I cook the vegetable component separately because I like a perfectly cooked vegetable in my curry and the pressure of the Insta-Pot tends to over-cook the vegetables in this application.  Feel free to throw yours in if you don’t mind that though!

I’m going to save a video tutorial on instagram in my highlights, so for additional help you can request to follow me at @andreadugg.

Insta-Pot Chicken Curry

serves 4

Ingredients:

2 medium onions, diced

1 tbsp minced fresh ginger

3 cloves garlic, minced

2 tbsp of coconut oil (or ghee, or vegetable oil)

2 tsp ground garam masala (Indian spice mix, don’t panic if you don’t have it)

2 tsp ground cinnamon

2 tsp ground cumin

3 tbsp Patak’s mild yellow curry paste (make sure it’s paste, not sauce)*

1/4 tsp red hot chili flakes (optional)

2 tbsp tomato paste

1.5 tsp salt

1 tsp ground pepper

2 cups water

1 lb. chicken breast or thighs, boneless, diced

1 14oz can coconut milk

additional vegetables (cooked separately)

3 medium carrots, peeled and cut into 1.5 ” chunks

3 medium potatoes, peeled and cut into 1.5 ” chunks –

to thicken: 

1/2 cup of water mixed with

2 tbsp corn starch


nice to have with it: fresh cilantro, mango chutney

serve with: basmati rice, naan bread

Directions:

Step 1

Prepare potatoes and carrots, place in a medium pot covered with water and cook for 15 minutes until just tender. Drain and keep aside.  Meanwhile…..

Step 2

Collect all of your needed ingredients and measure them out so your cooking experience is more pleasant and has good flow.

Step 3

With your Insta-Pot set to ‘saute’, add oil and onions. Stir fairly often, cooking them to a golden brown, being careful not to burn them.  Due to the lack of temperature control on the ‘saute’ function, you may need to turn it ‘off’ to allow the element to cool down a bit, then turn it back on to ‘saute’ until the desired doneness is achieved. You really need to spend that time cooking the onions down quite well, as with any Indian recipe.

Add ginger and garlic and saute for about 10 seconds. Add in your garam masala, cinnamon, cumin, curry paste, chili flakes (if using), tomato paste, salt and pepper. Again, if you find your Insta-Pot too hot, turn it off.  Sloosh that around for about 20 seconds.  Add your 2 cups of water and mix again, scraping up any browned bits on the bottom of the pot.  Throw in your chicken chunks and the coconut milk. Stir to combine.

Step 4 

Place lid on Insta-Pot and turn clockwise to lock. Turn the vent dial to “seal” — this is a really important step.  Next, press your timing to ‘Manual’, then using the – or + sign, adjust time to read 10 minutes, and the  pressure button should be adjusted to “High”.

Make sure the vent is not directly under the cupboard – leave room for the steam to release freely.

After the beep which indicates that your curry has completed it’s pressure cooking, stand back, and with a utensil, flick the vent dial to  release your vent.  Steam will shoot out and this is normal.  Once your pressure button is flush to the black part of the lid and there is no more steam coming out of the vent,  you are free to unlock and open your Insta-Pot.

Step 5

Remove lid.  Mix remaining water and cornstarch, and add to pot. Mix and allow to thicken. Add your cooked vegetables at this point.  Taste, and adjust salt if necessary.

Serve over rice, with cilantro (if available!) and mango chutney (if you have it).  We are smack in the middle of a global pandemic and it’s not easy to attain all ingredients.   I drizzled a parsley/garlic puree that I had on hand over top and found some PC naan in the freezer – perfect!

Bon apetit!!

*if you can’t find Patak’s yellow curry paste, you can use Vindaloo paste (hot), or Tikka Masala paste, or any curry paste you can find. Just ensure that it’s “paste” and not “sauce”.

curry3

Big Batch Bolognese Sauce

IMG_7472_Fotor

I’m basing this recipe from a show called, “Gino’s Italy” or something like that.  I love that this meat sauce is not too tomato-y, and has layered, built up flavours.  You might as well make a big batch and freeze some.  I like to use a large, deep, cast iron pan, or a large ceramic coated cast iron pot. Use the best ingredients you can, pasture-raised local meat if possible.

Bolognese Sauce

2 lbs ground lean beef

2 lbs ground lean pork

1  cup onion, finely diced

1 cup carrot, finely diced

1 cup celery, finely diced

Olive oil, for the pan

1 cup good quality red wine

3/4 cup milk

1.5 cups crushed tomato

3 tbsp tomato paste

1.5 cups chicken stock

3/4 tsp salt

1/2 tsp ground pepper

Directions:

Using a large (preferably cast iron or heavy-bottomed) pan, heat olive oil over medium heat.  Add onions, carrot and celery (known as “sofrito”).  Cook, stirring frequently, over medium-low, about 12 minutes, until softened. Break up meat and add to mixture in pan.  Add salt and pepper. Stir and break up meat and amalgamate with vegetable mixture.

Add red wine, and let simmer and absorb until almost all absorbed, stirring occasionally.  Add milk and stir, until it is well blended, absorbed but not dry.

Add tomato paste and crushed tomato and mix and stir.  Pour in chicken stock, enough to cover, but not drown your meat sauce.  Let simmer on very low heat, covered for about 2 or 3 hours, stirring and caring for it as you go along.

Skim any pooled fat (from the meat) from the top of your sauce and discard.

Serve with tagliatelle or pasta of your choice.  Buon Appetito!

Low Carb Nut Bread (gf)

bread1_Fotor

I threw this together today and really loved it so I’m posting it so I don’t forget it–it’s a keeper! What’s great about this recipe is that there’s no sugar in it, there is a decent amount of protein from eggs and lots of healthy fats. It’s baked in a 9 inch square pan so it’s not in loaf form, but you can figure this out for a sandwich or just butter it and enjoy alone or with a meal.
*for vegans – you can try this with flax eggs and see how it goes, I haven’t tried that yet.

Ingredients:

Makes 16, 2 1/4 by 2 1/4 inch squares. Cut it up how you like.

Wet:
4 large eggs
3 tbsp olive oil (or coconut oil, avocado oil)
2 tsp cider vinegar (or lemon juice)
I large apple, peeled and grated
3 tbsp almond milk (or other nut milk)
Dry:
2 cups ground almond meal
1 cup ground pecans
3/4 cup shredded unsweetened coconut
3/4 tsp baking soda
1/2 tsp salt
1/2 tsp grated nutmeg

Instructions:

Preheat oven to 325F. Line a 9 inch square pan with parchment paper. Set aside.
Whisk eggs, olive oil, vinegar, almond milk until well blended, then stir in grated apple.
In separate bowl, mix almond meal, ground pecans, coconut, baking soda, salt and nutmeg.
Mix the wet into the dry ingredients until incorporated well. Pour/scrape it into pan. Bake 35-40 minutes until tester comes out clean. Cool, remove using parchment paper. Cut into squares once cooled, or into larger pieces as to your liking. Freezes well, wrapped individually.

Continue reading